Monday, October 24, 2011

Sweet Puh-Puh-Potatoes?

It's been a while since my last post and shame on me for not sharing in this summers successes and failures as they happened.  Tomato's were a flop this summer.  I blame it on the rain.  I usually yield about 30 jars of tomato sauce from the season.  This year I ended up with a measly 12 jars.

But I'm not here to talk about tomatoes. I'm here to talk about sweet potatoes.  Yesterday we got around to harvesting our first try at sweet potatoes.  I read that the longer you keep them in the ground, the sweeter they get.  I also read that you can keep them in the ground until one or two frosts.  When you see the leaves starting to yellow, that's a sign to harvest them.  When the leaves start to blacken (from frost), then you really need to pull them. 

Anyway, it was a nice sunny Sunday, so we had at it.  If you can see in the picture, some of the leaves are starting to turn black.

As you can see from the next picture, the vines really spread out from their original spot.  When I planted them I had 3 rows of about 5 sprouts. 

First we started by using a spade shovel and trying to scoop under where we thought they would be.  We then had our first glimpse of sweet gold.


After pulling up a few, we realized that it was easier to pull away all the leaves and vines and we could get at them with less wrestling of the foliage.  The leaves were a nice addition to my compost bin. Pulling out the potatoes, almost reminded me of harvesting carrots. They just popped right out.


Heck, some of them even looked like carrots.

After harvesting them, I laid them out in the sun to start the curing process. 

After a couple hours, I put them in brown bags and now have them in the warmest room in our house (our bedroom gets the most sun and is nice and warm during the day).  They should stay in a warm ventilated room (ideally between 85 and 90 degrees Fahrenheit, but our bedroom will have to do) for 8 to 10 days.  Although, you can cook and eat sweet potatoes right out of the ground, curing is recommend to both heal any injuries incurred from harvesting, and to enhance their natural sweetness.  After curing, I will store them in a cool, dry place (basement) in brown bags. 

I am looking forward to preparing them and eating them.  I'm not sure if I will plant sweet potatoes again next season.  They took up a good deal of space in my beds, and I was expecting (hoping) for a larger yield.  I harvested about 20lbs of sweet potatoes.

The red potatoes that I planted this season, gave me a larger yield and less time in the ground.  So they will definitely be in my garden plan next season.

I'll let you know how they taste!

Saturday, July 9, 2011

Potato Success!

What a surprise for me tonight when I dug up a potato after I had assumed my potato adventure this summer was a failure.

After battling Colorado Potato Beetle's back in April by picking them off and removing any leaves with eggs, I thought that I was doing pretty well.  The plants were flourishing.  Green, bushy and quite healthy looking.  However, not knowing very much about what to look for with potato plants, I started to notice the leaves getting spots all over them.  This was in June:

I thought perhaps that I had some sort of deficiency in the soil for the leaves to start looking that way.  Anyway, as time went on, the leaves started to look worse and die off.  What at one time looked like a flourishing crop of healthy potato plants, started to dwindle down to a sickly looking patch.  Discouraged, I gave up hope and wrote off my potato trial as a flop.

Then the other day I decided to research what exactly are the signs to know when it's time to harvest potatoes.  What I found out is that the plants die off and when they all die, then it's time to harvest them.  I figured it couldn't hurt to just check it out to see.  After all, I was going to have to clean up the potato failure anyway.  So tonight, after picking some parsley for our rabbits, I took out a hoe and gently started to dig down into the earth.  After going down about 6 or so inches, I hit something red.  Could it be?  Digging a bit more, sure enough, there in the soil was a red potato.  And not just a wimpy little rotten potato, but a big, bright red healthy potato!  Excited I ran in the house to tell Mike of my discovery.  All through dinner I thought about the treasure waiting outside for me.  How many potatoes where there??

After dinner, we went out with some bags and started digging.  Being ever so careful not to cut into any potatoes.


Mike and I had a ball uncovering the "fine fluffy white potatoes" (must be said in an Irish accent).


And after about 1/2 hour we had about 25 lbs of red gold.  We know what we are having for breakfast tomorrow!

So what I thought was a failure, turned out to be a great success.  I hope that my sweet potatoes do as well as my red potatoes did.  I'll keep you posted!

Sunday, April 10, 2011

New Adventures in Pototoes

This is my first time growing potatoes.  Hopefully it will be a rewarding first-time experience.  I decided on red-potatoes and sweet potatoes.  In our area, red potatoes are ready to start now.  The sweet potatoes, I have read, are a bit of a warmer season veggie so I should wait until June to start those.  That said, I have begun the red potato process and thought I would share with you my experience thus far.

I ordered a 2lb bag of Red Norland Potatoes from Henry Fields Nursery.  I am not plugging them by any means, but I have had good success with them so far with everything I have purchased from them.  I have purchased asparagus roots and blueberry plants and both came to me in great condition and both have been  successful in their growth for me. I selected Red Norland potatoes as I read that they produce compact plants which are good for smaller gardens, which is what I have.  I have also read not to use grocery store potatoes for growing as they are treated with a growth retardant. Also it is good to use certified seed potatoes that are meant for producing eyes on potatoes

When I got the bag there were about a dozen small potatoes in the bag with eyes started on each of them.  You are not supposed to place the entire potato in the ground with more than 2-3 eyes on a piece potato.  What you do is cut the potato so each cutting has about 2-3 eyes per cut.  Each eye will produce a plant.

After I cut the potatoes, I placed them back in the bag to for a few days to heal and form a scab over the cut area.   After that they are ready to be planted.


Today, I was finally able to get them in the ground.  We have had so much rain this week that I was unable to plant them sooner.

To plant potatoes, you first need to dig a trench about 8" - 12" deep.  You then place your potatoes with the eyes facing up about 10" apart"


You then cover your potatoes with about 2-3" of dirt (you don't back fill in the trench completely)

I ended up with 4 rows of about 5 potatoes per row.


(I am saving the other half of the bed for some sweet potatoes.)  As the potatoes start to grow.  You are supposed to do something called "hilling".  Which is after the plants are 8-10" tall, use a hoe and pile several inches of soil up around the stems. The prevents exposure to the sun which causes tubers to become green and inedible.

Hopefully, they will do well.  I am so excited to see what happens next!

The Blueberry Experiment

I am determined to salvage that blueberry branch that broke off from the plant that I ordered.  So here the following is what I ended up doing.  Hopefully it will not be in vain.

For those that don't remember from my past post, I had planted a bluecrop highbush about a month back only to find it battle damaged from small boys playing in the backyard:


What I ended up doing to the broken branch was take it inside and put it in a cup of water and put it in a window sill.  I have been surprised with how the buds have continued to grow and new buds have since formed.


So what I ended up doing is potting the cutting in peat moss.  I soaked the peat moss in water and then placed the moss in a pot.  I then put the branch in the peat moss and  covered the pot in a plastic wrap to create a sort of humid effect to help keep a warm moisture to aid in root generation.


I currently have the cutting in my window in my office and so far I am surprised with how much new growth it is producing.  Hopefully though by placing it in the peat moss it will give me some root so I can get it back out in the ground outside.  I will keep you informed of the progress or lack thereof.  Wish me luck.

Sunday, April 3, 2011

Busy weekend

Oh my!  What a weekend I had.  We were supposed to have gone to Washington DC this weekend as I was registered to run in the Cherry Blossom 10-miler, but we have been going non-stop and decided to stay put this weekend.  That gave me that chance to work on the garden some.  As a result I got quite a bit done.

On Saturday I worked on weeding and tilling up some of the beds a bit.  Hard work for sure.  I had put down compost from my compost bin in the fall, and so the soil is very rich and ready to go for the summer.  I will add compost throughout the year as needed by just laying some on top and turning it in a bit.  Anyway, I was able to weed around the garlic that is growing nicely as well as the chive and oregano.  Also I cut back the dead from my asparagus and weeded around it.  All in all quite pleased with how the beds cleaned up.


Here is the garlic that I planted in the fall:

While I was tilling up the beds, I decided to remove the strawberries that I had planted last year.  I realized that for my garden, planting strawberries was a bad idea.  I just don't have the room to support them.  Perhaps when we have more land I will have a separate area just for strawberries.  So for now I dug them up and decided to pot them, hoping that they will produce a few strawberries this summer in the pot.


And finally, for the end of Saturday, I planted a first phase of lettuce, some spinach, arugula, swiss chard and some cilantro.


All-in-all a productive first day.

For Sunday, (today) I first worked on getting my peppers into larger pots as they were just sitting in peat pellets.


After that I Matt and I worked on planting some flower seeds.  So now they are busy "incubating" So they will be ready to go for the summer. 


Matt counted them and we planted 80 flower seeds in all!  The above picture is my indoor set up.  This is our bedroom.  Our bedroom gets the best/most sun so this is where I start all my seedlings.  Mike made that little enclosed plexiglass box for me to help create a mini greenhouse for me to aid in germination. 

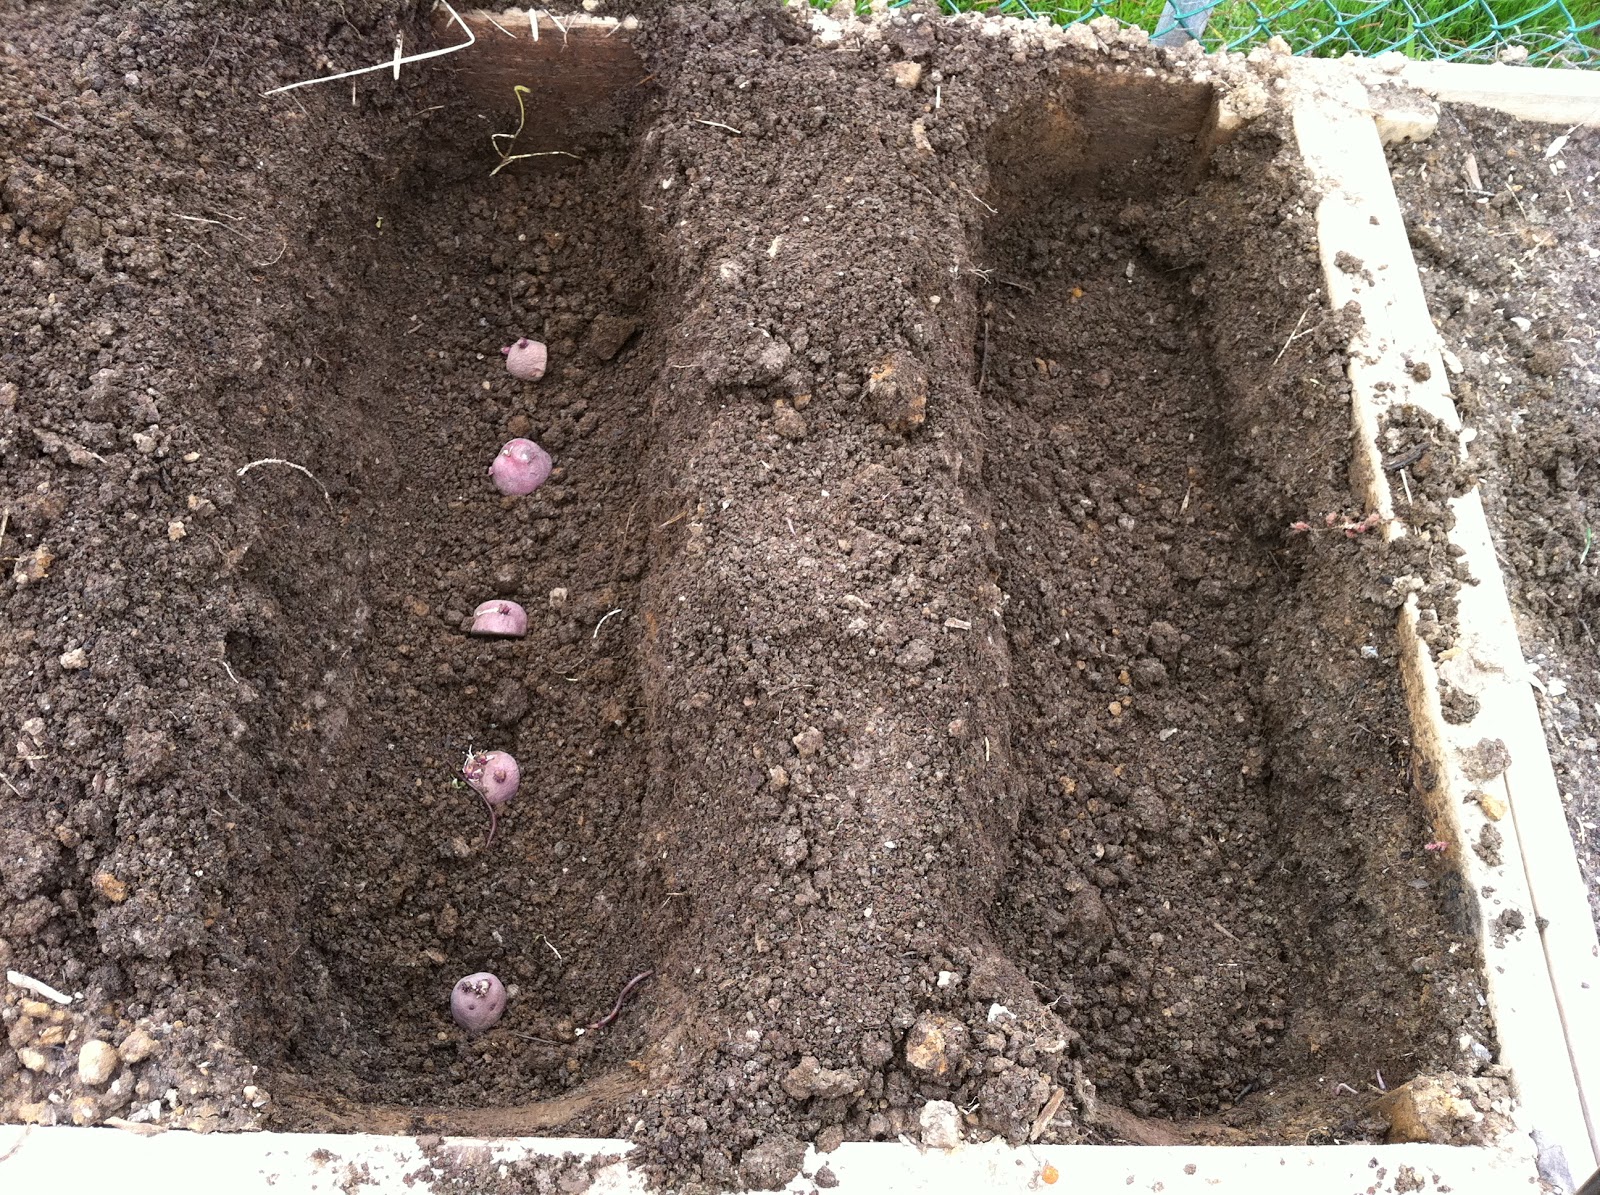
I also finished tilling up the rest of my beds. This bed I will be planting potatoes.  Which I will be putting red potatoes in the ground this week.


And finally, planted sugar snap peas, peas, snow peas, green beans, soy beans, parsley and transplanted the broccoli I started.


In hindsight, I am concerned that I should have held off on planting the broccoli outside, but if it doesn't take, I'll just start again with a direct sow in the ground.

Anyway, busy weekend indeed.  I am quite sore from all that work.  Getting old is no fun, but it was great to be outside and working in the dirt again.

Wednesday, March 30, 2011

The chilluns are growing

I've been tending to the tomatoes, peppers and broccoli seedlings in our bedroom the past month.  Yes, perhaps I was a bit eager with starting them, but I don't mind watching them grow.  A little taste of spring perhaps.  Spring just can't get here fast enough.  Anyway, the tomatoes are really starting to get bigger so I needed to upgrade them a bit from their original peat pellets into larger pots.  (Makes me think of that book A Fish Out Of Water).  Anyway, I did that this evening outside in shed.  So here they are.


My plan is to have 8 tomato plants this season.  The seeds I used were from several seasons back so I basically tripled up on each variety of them to be sure that I'd get some successful germination of each.

This weekend I will transfer the peppers to larger pots as well.  (I just ran out or I would have done that tonight).

Additionally I ordered a Bluecrop highbush blueberry bush and that came in the mail a few weeks back.  I put that in the ground a couple weeks ago.


I'm really hoping that I have success with it.  I planted a raspberry bush a few years back and it's being growing like a weed, but has yet to give me any fruit.  I'm hoping that the blueberry bush will give me some successes.  I know that I'll have to wait a few years but I don't mind, I enjoy the process.

However, the other day, Matt was out playing with his friends in the backyard.  I guess they didn't see my new planting.  (My bad for not putting something around it).  Needless to say, it has suffered it's first setback, d'oh!


I don't know what to say...I hope that it doesn't stress it out too much.  I'm hoping I can salvage the broken branch.  I put it in a glass of water.  Who knows...maybe it will take root.  I've had successes like that before.

Wednesday, March 2, 2011

Early Plantings


It's been a tough winter for me for some reason.  Just didn't "like" it.  But I think that towards the end I started to come to terms with it and accept the fact that like the trees, people too need a time of rest and hibernation.  That said, I am still glad spring is close by.  Seeds have been ordered and delivered to my door.  Plans have been made for what I will be planting and my warm season crops that will need transplanting have already been started.

My plans for this year are to try out some new varieties of peppers, and add some new additions to my garden repertoire, that being, sweet potatoes, red potatoes, and broccoli.  Additionally I ordered a blueray highbush blueberry bush that I am excited about.  I am  hoping that with the volunteering that I will be doing with the Chester County Food Bank at Springton Manor this season I will learn much.

Here is what I plan on growing this season:

Veggies:Herbs:
SpinachSage
LettuceRosemary
ArugulaParsley
Swiss ChardOregano
AsparagusBasil
Soy BeanChives
Snow PeasCilantro
Peas
Green Beans
Sugar Snap Peas
Tomatoes
Cucumbers
Zucchini
Yellow Squash
Peppers
Sweet Pepper
Red Potatoes
Broccoli
I already started the peppers, broccoli and tomatoes.  I think I made my first mistake already by being too eager and starting the tomato seed too soon.  Hopefully I can keep them going by transferring them into larger and larger pots before getting them in the ground.  As you can see by the photo, they have already germinated, while the peppers are still yet to germinate (the top half of the tray).  They don't go into the ground until May, which is two months out.


Broccoli was a late idea for me, but I figured I give it a try as its something that the boys enjoy (aka tolerate) and I've seen my neighbor grow it successfully.  So I will try out three broccoli plants this season.  The plan for peppers this year is to try out a new variety of hot called Aji, which I fell in love with while in Ecuador.  I will need to see if I can find an Aji recipe to make which we had every night while there which we put on rice, popcorn, soup.  A nice way to spice up things.  In addition to the Aji, other pepper varieties this year are:  Buran, Chervena Chushka, and Tollies Sweet.  I ordered these from the Seed Saver's Exchange.

As for tomatoes, I am taking a risk by sticking with seeds that are 2 and 3 seasons old.  Although, seems like they are germinating just fine.  Focus is Romas for my sauces and then the beefy ones for salads and sandwiches.  Varieties selected are:  Roma, Beefsteak, Beefmaster, Early Girl and Rutgers.  I was reading up on the difference between determinate and indeterminate varieties which was first brought to my attention at a Food Bank meeting.  Roma's and Rutgers are determinates while the Beefsteak, Beefmaster and Early Girls are indeterminate.  Just  knowing this little bit of info will really help me in where to plant them as well as to prune or not to prune!

Next post will be on flower seed plantings.